
Overview
pfSense is installed, your network segments exist, and everything is theoretically working – except you can’t actually see any of it yet. That’s because the pfSense web interface lives at https://10.10.10.1, and right now nothing is connected to the LAN to reach it. Now enters Kali Linux – your attack platform, your management workstation, and for now, the only machine that can reach pfSense.
If you’ve never used Kali before, don’t panic. You don’t need to know any hacking tools to get through this tutorial. You just need to get it installed, connected to the LAN, and pointed at pfSense. We’re still in setup land and haven’t quite made it to the fun parts, but you can’t hunt threats on a network you haven’t built yet. So let’s build this thing.
What You’ll Learn:
- How to download the Kali Linux VMware image
- How to import and configure the Kali VM in VMware Workstation
- How to connect Kali to your lab’s LAN segment (VMnet2)
- How to verify Kali is getting an IP address from pfSense
- How to reach the pfSense web interface from Kali
- Basic initial configuration to get Kali in working shape
Estimated Time: 45-60 minutes
Difficulty Level: Intermediate
Prerequisites
Before You Begin:
- Tutorial 2 completed – pfSense installed and running with LAN at 10.10.10.1/24
- VMware Workstation Pro installed
- At least 10GB RAM available for Kali (4GB minimum, 8GB recommended)
- At least 80GB free disk space
💻 Hardware check: Not sure if your machine is ready for this stage? See Hardware Check for full specs and what you can run at each point in the series.
💡 ISO vs. Pre-Built Virtual Machine: The difference comes down to how much setup you want to do manually. If you want to get moving quickly, grab the VM image. If you want the full setup and configuration experience, grab the ISO. The end result is the same either way.
Virtual Machine image: a pre-built VMware package that drops Kali into your library mostly ready to go. Less setup, faster start, and since you just spent Tutorial 2 building a VM from scratch, you already know how that process works. This is what we’re using for this tutorial.
ISO: traditional installation image that walks you through the full Kali install process inside VMware, similar to what you did with pfSense. More steps, but you get a clean install that you can configure however you want.
Part 1: Download Kali Linux
Head over to https://www.kali.org/get-kali/ to download Kali’s pre-built virtual machine for VMware.
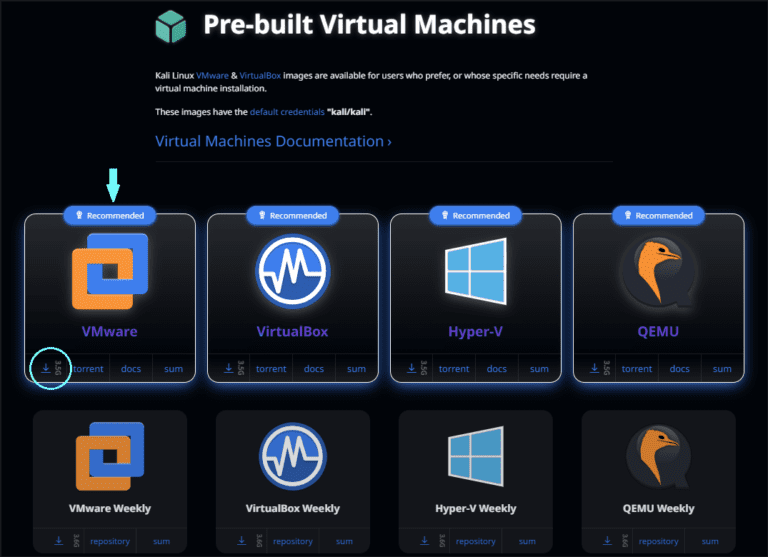
- Under Virtual Machines, find the VMware option and click the download icon at the bottom-left of the VMware card.
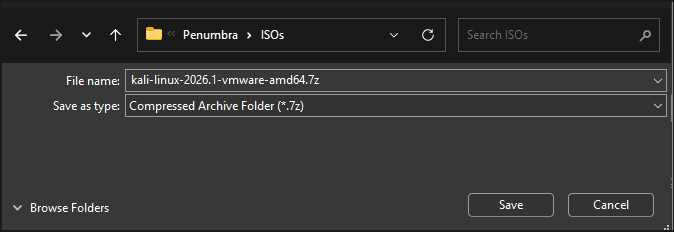
- Kali compresses the VM package to keep the download size manageable, so the file will download as a .7z archive. You’ll need to extract it before you can open and use it in VMware.
💡 Don’t have 7-Zip? If you’re on Windows and don’t have a tool that handles .7z files, grab 7-Zip from https://www.7-zip.org/. It’s free, lightweight, and takes about 30 seconds to install. Once installed, right-click the downloaded file and select 7-Zip > Extract Here.
- Verify the SHA256 checksum if you want to confirm file integrity. The checksum is listed on the Kali download page next to the file.
Windows (PowerShell):
Get-FileHash .\kali-linux-*.7z -Algorithm SHA256
Linux/Mac (Terminal):
sha256sum kali-linux-*.7z
- Once downloaded, right-click the .7z file and extract it to your
C:\Penumbra\VMs\folder. VMware will need to find the extracted folder in the next step.
Part 2: Import the Kali VM into VMware
This is the part where you realize why we used the VM image instead of the ISO. No installation wizard, no partitioning decisions, no operating system configuration. Just point VMware at the folder and go.
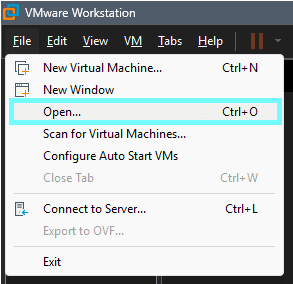
- Open VMware Workstation Pro.
- Go to File > Open.
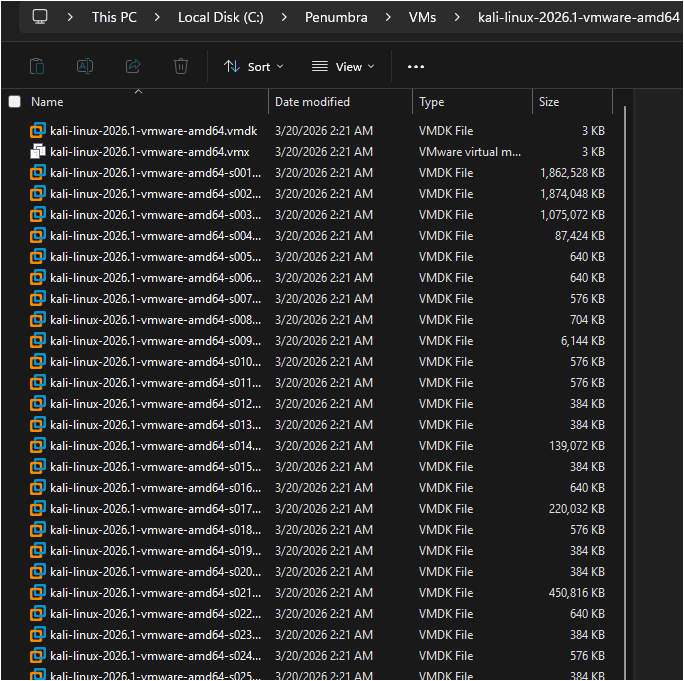
- Navigate to your extracted Kali folder inside
C:\Penumbra\VMs\, select the kali-linux-2026.1-vmware-amd64.vmx file, and click Open. - VMware may ask if you moved or copied this VM. If you see this prompt, select I Copied It and click OK. If you don’t see it, just move on.
💡 Why “I Copied It”? VMware uses unique identifiers to track VMs. Selecting “I Copied It” tells VMware to generate a new identifier for this instance, which is the correct call when importing a downloaded image. Not that you would be arrested for getting this one wrong, but “I Copied It” is the right way to go here.
- The VM will appear in your VMware library, but before you start it, we need to configure the hardware.
Part 3: Configure the Kali VM
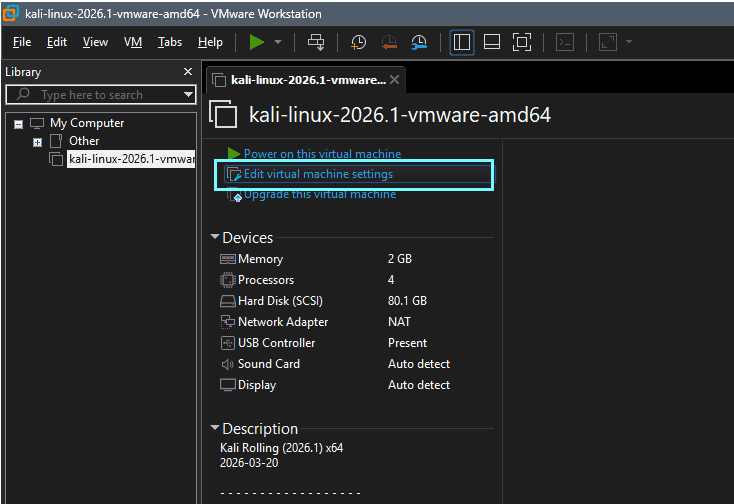
Click the Kali VM in your library and click Edit virtual machine settings in the main panel, or right-click the VM and select Settings.
- Select Memory: set it to 8192 MB (8GB).

💡 pfSense can survive on 2GB and still manage your entire network without complaint. Kali, on the other hand, is running a full desktop environment on top of a suite of security tools – give it some room to breathe.
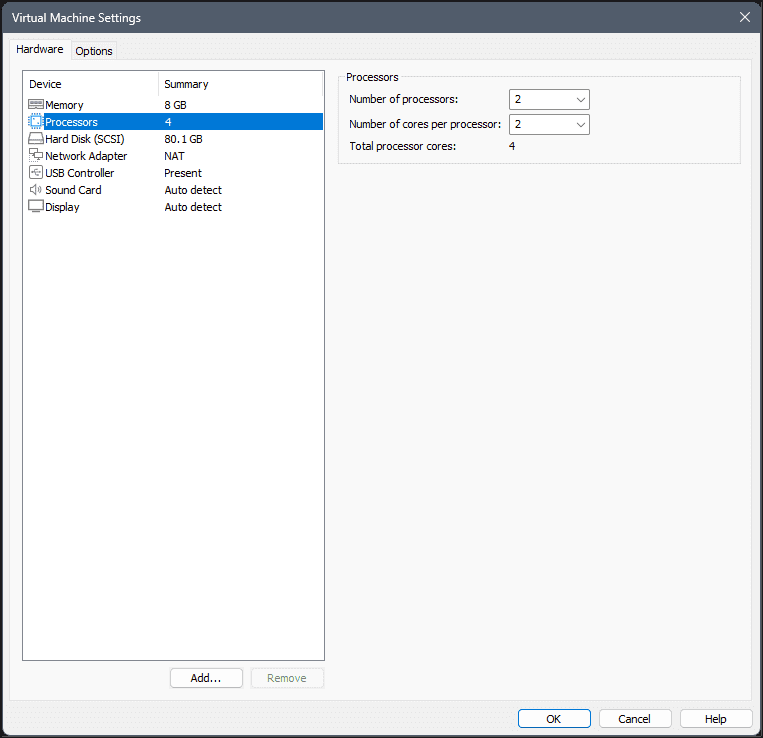
- Select Processors: set to at least 2 cores (4 is better if your host machine can spare them).
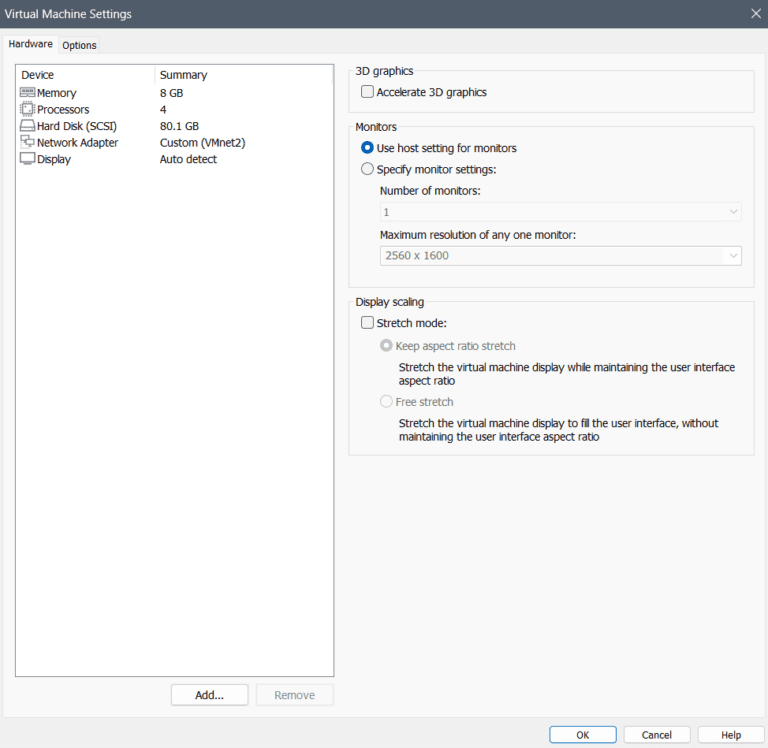
- Select Network Adapter: change the network connection to Custom: Specific virtual network, then select VMnet2.

💡 Quick note on VMnet selection: VMnet2 is the LAN segment we set up in Tutorial 2 – where pfSense is listening at 10.10.10.1. If it’s left connected to NAT, it won’t be able to reach pfSense. Switching to VMnet2 is the right way to go here.
- Remove hardware Kali doesn’t need:
- Select USB Controller and click Remove
- Select Sound Card and click Remove
💡 Everything else in the hardware settings can stay as-is. The pre-built VM image comes configured with a reasonable hard disk size (typically 80GB) and display settings that work out of the box. You don’t need to touch them – just one of the perks of using the VM image over the ISO.
- Click OK to save the hardware settings.
Part 4: Initial Boot and Network Connectivity
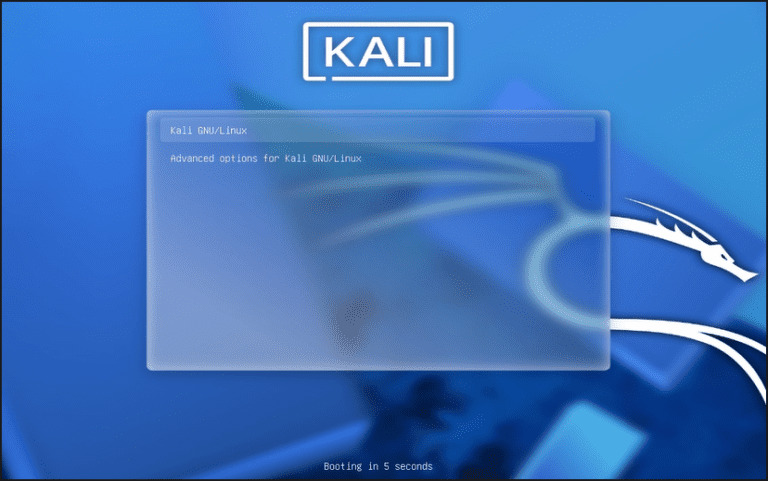
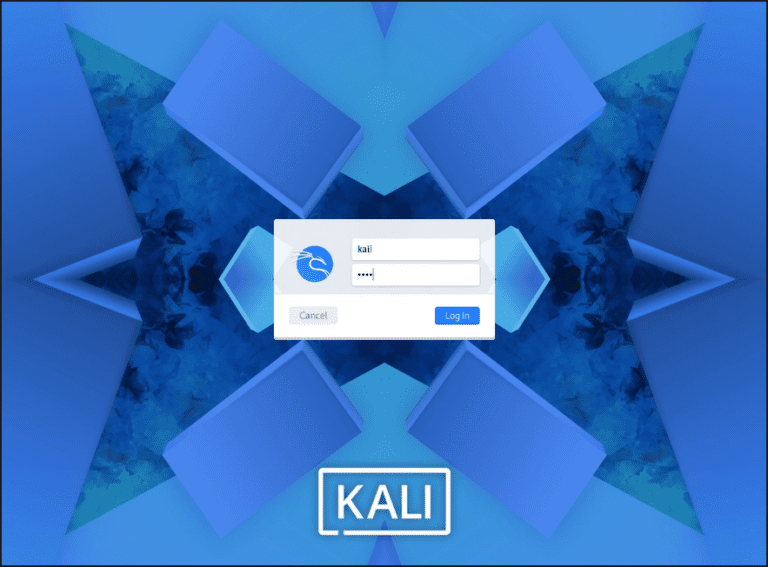
Go ahead and power on the Kali VM. Before the desktop loads, a boot menu will briefly appear showing two options: Kali GNU/Linux and Advanced options for Kali GNU/Linux.
- Select Kali GNU/Linux: it will be highlighted automatically and boot after a few seconds. Just let it run.
💡 Curious about Advanced options? Think of it as the “break glass in case of emergency” menu. It houses older kernel versions and recovery mode for when things go sideways.
- Log in using Kali’s default credentials:
- Username:
kali - Password:
kali
- Username:
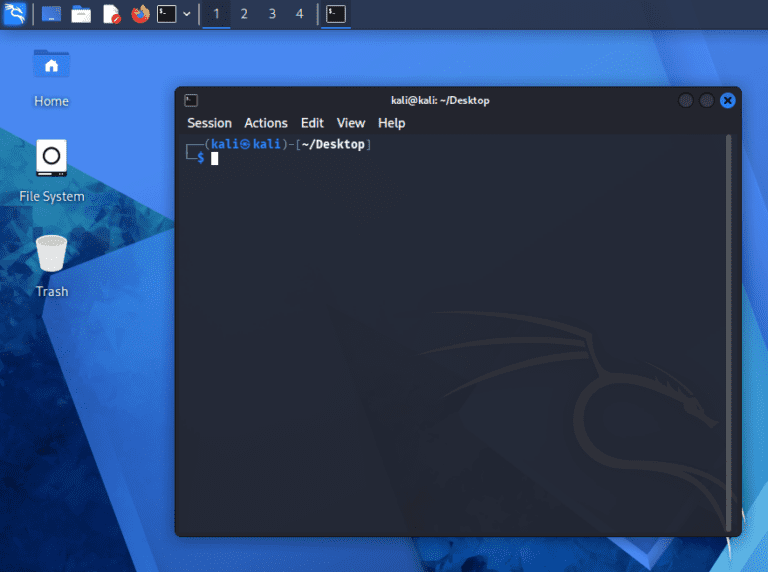
- Open a terminal: right-click on the desktop and select Open Terminal Here.
💡 First time using a Linux terminal? A few things worth knowing:
The terminal is case-sensitive: sudo apt Update is not the same as sudo apt update.
Password characters are not displayed: When you type a password in the terminal, nothing appears on the screen. Just type your password and press Enter.
Just re-type a failed command: If you make a typo in a command and get an error, just retype it. Nothing bad happens from a failed command.
💡 Checking network connectivity: this is where Tutorial 2 pays off. Kali should have received an IP address from pfSense via DHCP, somewhere in the 10.10.10.100-200 range. Before installing updates or doing anything else, confirm the network is working first.
- Check your IP address by running the following command in the terminal:
ip addr show
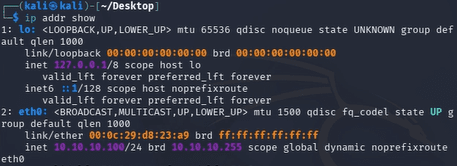
💡 What you’re looking for: A line that reads something like inet 10.10.10.100/24 under the eth0 interface. The exact number between 100 and 200 doesn’t matter – it’s just the address pfSense pulled from the DHCP pool.
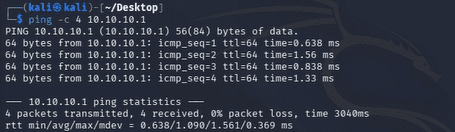
- Ping pfSense to confirm you can reach it:
ping -c 4 10.10.10.1
You should see four replies from 10.10.10.1. If you do, Kali and pfSense are talking to each other and you’re ready to move on.
❗Not getting an IP address? Before going into full troubleshooting mode, let’s confirm a few things:
Your pfSense VM is powered on and running
Kali’s network adapter is set to Custom: VMnet2 (not NAT, not Bridged)
The network adapter is connected (check the network icon in VMware’s toolbar)
If all three check out and you’re still not getting an IP, jump down to the Troubleshooting section at the bottom of this page.
Part 5: Initial Setup – Password and Updates
Network has been confirmed and pfSense is reachable, so now let’s get Kali in working shape before moving any further. A little note to my fellow procrastinators: don’t skip this part. Skipping the password change and not installing updates is exactly the kind of thing that causes mysterious, maddening problems three tutorials from now when you’ve completely forgotten you skipped it. Just get it over with – do both and do them now.
- Change your password. In the terminal, run:
passwd
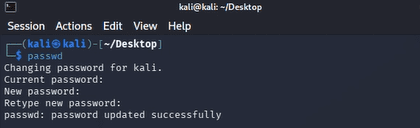
- You’ll be prompted to enter your current password (
kali), then set and confirm a new one.
⚠️ Change the default password, seriously. If you just thought to yourself, “but why bother, it’s a lab environment running on an isolated VMnet” – valid point. Change it anyway because building good habits in a lab is the whole point of having a lab.
- Update Kali’s package list and installed packages:
sudo apt update && sudo apt upgrade -y
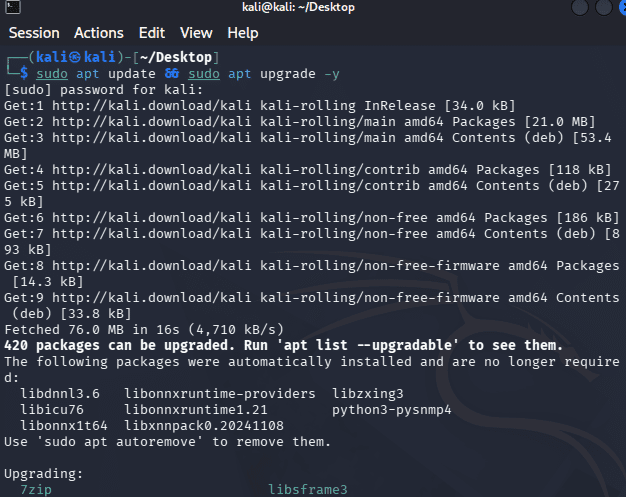
- Enter your new password when prompted. This will take a few minutes depending on how many packages need updating – a good time to take a break and refill your coffee.
💡 What does this actually do?
sudo means “run this as administrator.” You’ll use it constantly when working with Linux.
sudo apt update refreshes the list of available packages and their latest versions.
sudo apt upgrade -y installs any available updates. The -y flag means “yes to everything” so you’re not sitting there confirming each package one by one.
Run this periodically to keep Kali current, especially before starting any new practice scenarios.
Part 6: Connect to the pfSense Web Interface
This is the moment Tutorial 2 was building toward.
- Open a browser in Kali and navigate to
https://10.10.10.1
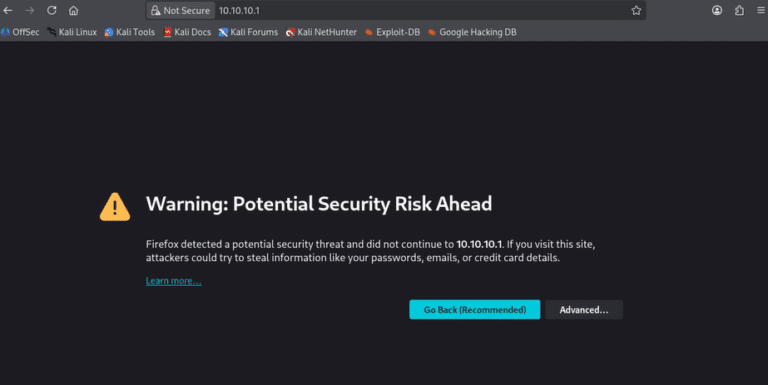
You’ll almost certainly get a certificate warning – no worries, it’s expected. pfSense uses a self-signed certificate by default, and your browser doesn’t recognize it as a trusted authority.
- Click Advanced, then Accept the Risk and Continue and Proceed to 10.10.10.1.
💡 The certificate warning is not a security problem in this context. In a production environment, you’d want a properly issued certificate. In a local lab with no external traffic, a self-signed certificate is completely normal. Click through and keep going.
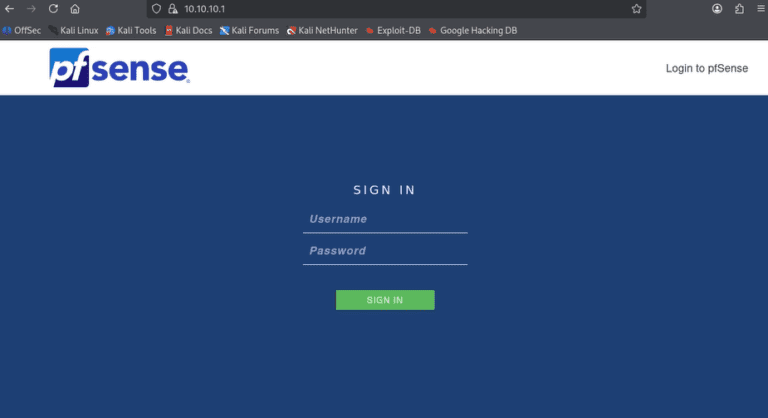
- Log in using pfSense’s default credentials:
- Username:
admin - Password:
pfsense
- Username:
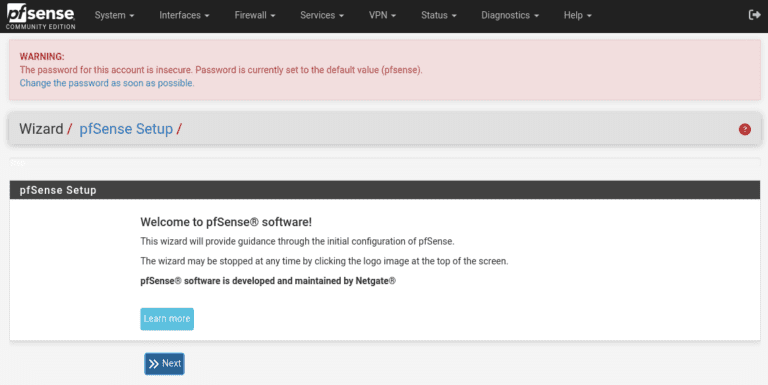
⚠️ Yes, you should change this password too. In Tutorial 4 we’ll cover pfSense web interface configuration, including swapping out the default admin password. For now, just log in and take a moment to look around. You’ve just accessed your firewall’s web interface from your attack platform, through a segmented virtual network you built from scratch. That’s worth a second to appreciate.
Troubleshooting
Kali not getting a DHCP address?
- Confirm pfSense is powered on and runnin – it has to be up for DHCP to work
- Verify Kali’s network adapter is set to Custom: VMnet2 in VMware settings
- Try running
sudo dhclient eth0in the Kali terminal to manually request an IP - If
eth0doesn’t exist, runip link showto find your actual interface name
Can’t ping 10.10.10.1?
- Confirm you got a 10.10.10.x IP address first. If you didn’t, fix that before troubleshooting ping
- Check pfSense’s console to confirm the LAN interface shows 10.10.10.1/24
- Try pinging from pfSense’s console using option 7 (Ping host) to verify pfSense can reach your IP
Browser says “Connection refused” or “Unable to connect” at https://10.10.10.1?
- Make sure you’re using https:// not http://
- Confirm pfSense’s web interface is enabled: from the pfSense console, select option 11 (Restart GUI)
- Check that your Kali IP is in the 10.10.10.100-200 range. If it’s outside the DHCP range, pfSense firewall rules may be blocking access
VMware shows Kali’s network adapter as disconnected?
- Click the network icon in the VMware toolbar and select Connect
- If VMnet2 doesn’t appear in the dropdown, you may need to create it in Edit > Virtual Network Editor
The update command is taking forever?
- That’s just how package updates work sometimes. Let it run. Don’t close the terminal.
Tutorial Debrief
📖 Log Entry:
- 🗸 Downloaded and imported the Kali Linux VMware image
- 🗸 Configured Kali’s network adapter to connect to VMnet2 (LAN)
- 🗸 Completed first-run setup including password change and system updates
- 🗸 Verified Kali received a DHCP address from pfSense
- 🗸 Successfully accessed the pfSense web interface from Kali
⚙️ Skills Stack:
- Importing pre-built VM images into VMware Workstation
- Virtual network adapter configuration
- Basic Linux terminal navigation and commands
- Network connectivity verification
- Accessing a firewall’s web management interface
Next Objective
With pfSense running and Kali connected to the LAN, the foundation is complete. Tutorial 4 is where things get interesting. We’ll configure the pfSense web interface, set up firewall rules for each network segment, and get the rest of the lab’s infrastructure in place.
The fun stuff starts now.
Resources
- Kali Linux Documentation: https://www.kali.org/docs/
- Kali Linux Tools: https://www.kali.org/tools/
- pfSense Documentation: https://docs.netgate.com/pfsense/
- r/Kalilinux: Reddit community for Kali-specific questions
- r/homelab: Reddit community for general home lab questions
Questions, errors, weird behavior – comment below and we’ll debug it together.