
Overview
You’ve already downloaded the installer, and if you haven’t, that’s covered in Lab Series #00: Download VMware Workstation Pro. This tutorial picks up from there and walks you through the installation and initial configuration so you have a working virtualization foundation before anything else in the series.
It sounds like a lot of steps, but it really isn’t. Most of them are just clicking Next.
Estimated Time: 15-20 minutes
Difficulty Level: Beginner-Friendly
System Requirements
Minimum:
- Processor: 64-bit x86 Intel or AMD (1.3GHz or faster) with hardware virtualization support (Intel VT-x or AMD-V)
- RAM: 2GB minimum – though 2GB is technically functional in the same way that a bicycle is technically transportation
- Disk Space: ~280MB for the application itself
- Operating System: Windows 10 or 11 (64-bit)
Recommended for this lab series:
- Processor: Multi-core CPU with VT-x/AMD-V enabled in BIOS
- RAM: 16GB+ since the lab eventually runs pfSense, Kali, Windows Server, Security Onion, and target VMs simultaneously. Give it room.
- Storage: SSD with 500GB+ free for VM storage
- OS: Windows 11 (64-bit)
💻 Hardware check: Not sure what your machine can handle? See Hardware Check for full specs and what you can run at each stage of the series.
Pre-Installation Checklist
Before running the installer, quickly confirm the following:
- Hardware virtualization is enabled: Open Task Manager, go to the Performance tab, click CPU, and look for “Virtualization: Enabled.” If it says Disabled, you’ll need to enable VT-x (Intel) or AMD-V (AMD) in your BIOS before VMware will work. This is the one thing worth checking before you start.
- Sufficient disk space: ~280MB for VMware itself, plus room for your VMs
- No other virtualization software actively running: Parallels, VirtualBox, Windows Sandbox, that kind of thing
- Antivirus temporarily paused: Most modern AV handles VMware’s kernel drivers just fine, but if your install fails unexpectedly, pausing AV is worth trying before you go down a troubleshooting rabbit hole
💡 Hyper-V note: If you have Windows Hyper-V enabled (common if you’ve used WSL2, Docker Desktop, or Windows Sandbox), VMware will detect it and run VMs through the Windows Hypervisor Platform instead of its own native hypervisor. This works, but performance takes a hit. For best results in a lab environment, having Hyper-V disabled is the preferred configuration. The installer will tell you which mode it’s using and there will be more on that in Part 2.
Part 1: Running the Installer
💡 The filename you’re looking for: The installer downloads as VMware-Workstation-Full-25H2u1-[25219725].exe (somewhere in the 275-300MB range). If yours is significantly different in size or name, double-check that you grabbed the right file from the Broadcom portal.
- Navigate to where you saved the installer, right-click it, and select Run as administrator.
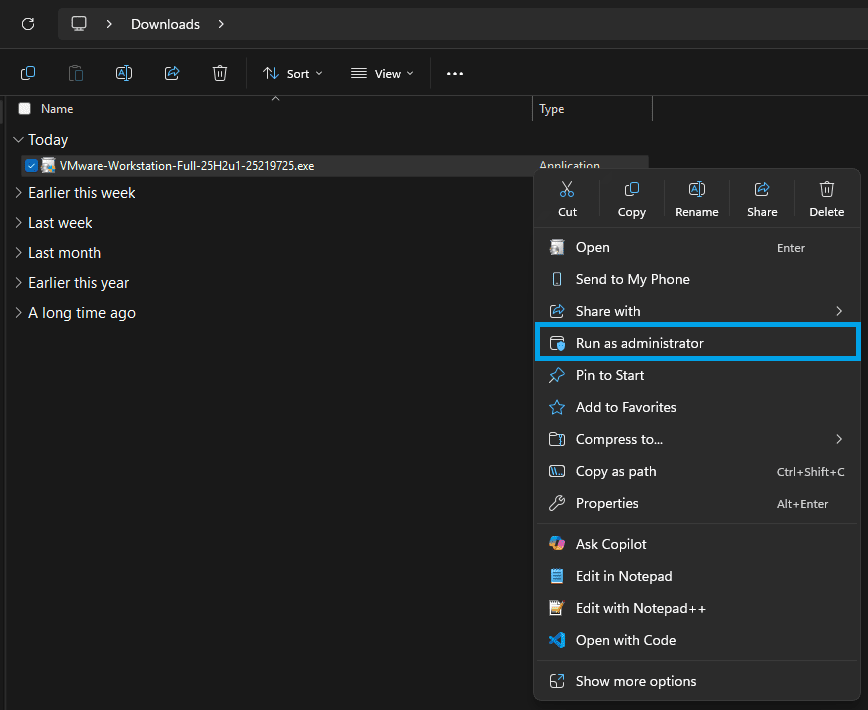
- Click Yes if Windows UAC prompts you.
💡 Why Run as administrator? VMware installs kernel-level drivers and needs elevated permissions to do it properly. Skipping this step can result in a broken install that requires a full uninstall and reinstall to fix. Don’t skip it.
- The installer will extract files and launch the setup wizard. Give it a moment.
Part 2: Installation Wizard
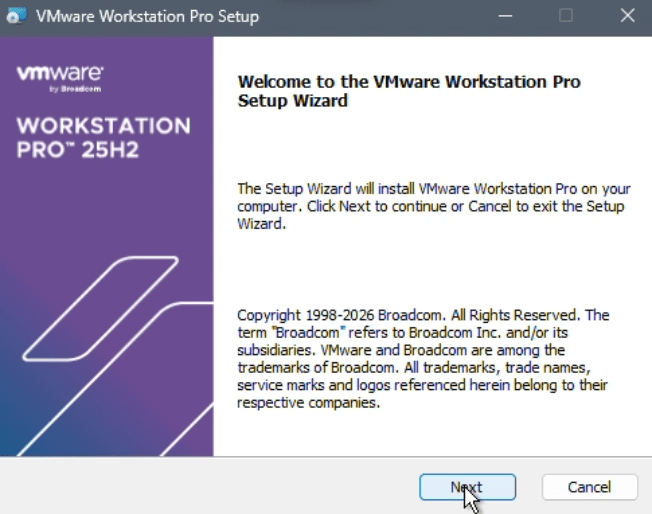
- Click Next on the Welcome screen.
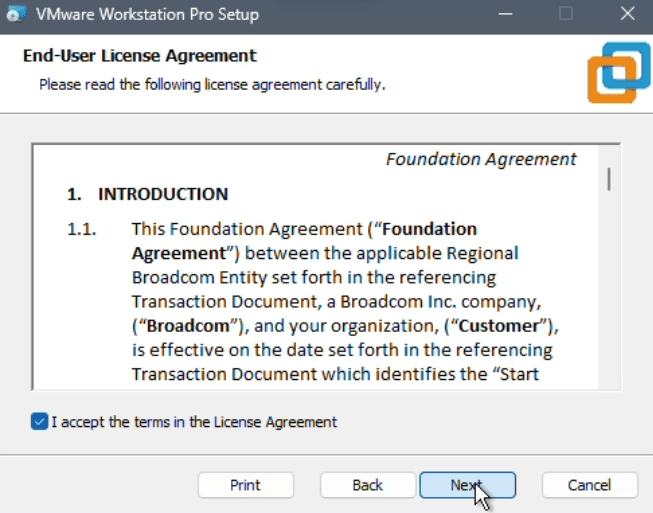
- On the License Agreement screen, select “I accept the terms in the License Agreement” and click Next.
- Compatible Setup:
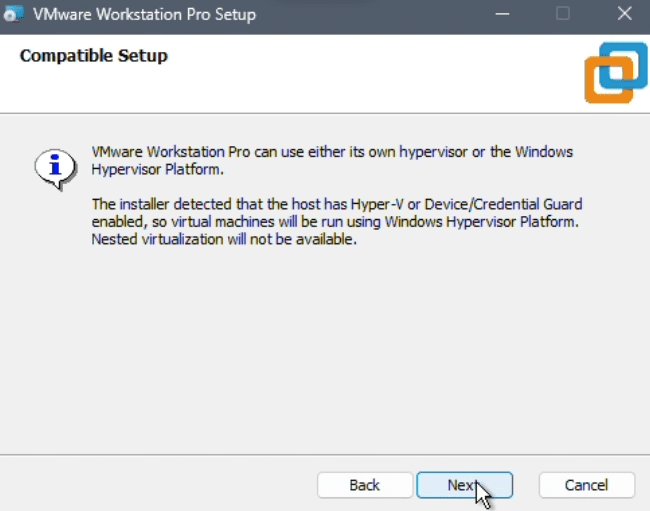
You’ll see one of two messages here:
- “Hyper-V is not detected on the host. Virtual machines will run using VMware’s hypervisor” – Ideal. This is what you want.
- “The installer detected that the host has Hyper-V or Device/Credential Guard enabled. Virtual machines will be launched using Windows Hypervisor Platform” – Functional, but slower. If performance matters to you (and in a security lab, it does), consider disabling Hyper-V after installation.
Click Next either way.
- Custom Setup:
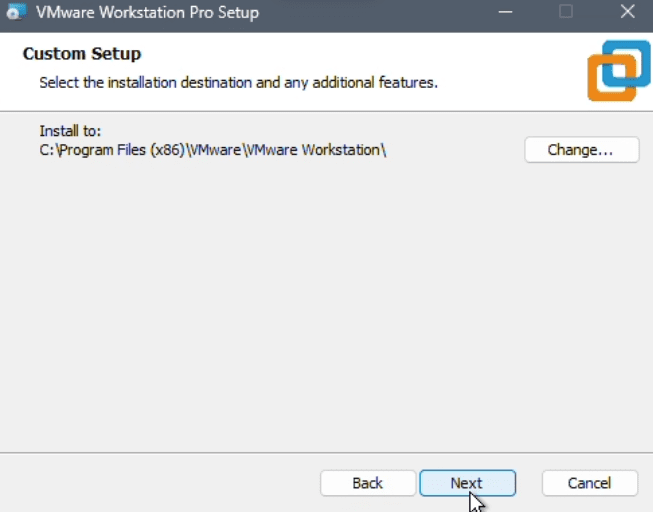
- Installation Location: Default is
C:\Program Files (x86)\VMware\VMware Workstation\– leave it. The application is ~280MB, your VMs live somewhere else entirely, and there’s no good reason to change this.
Click Next.
- User Experience Settings:
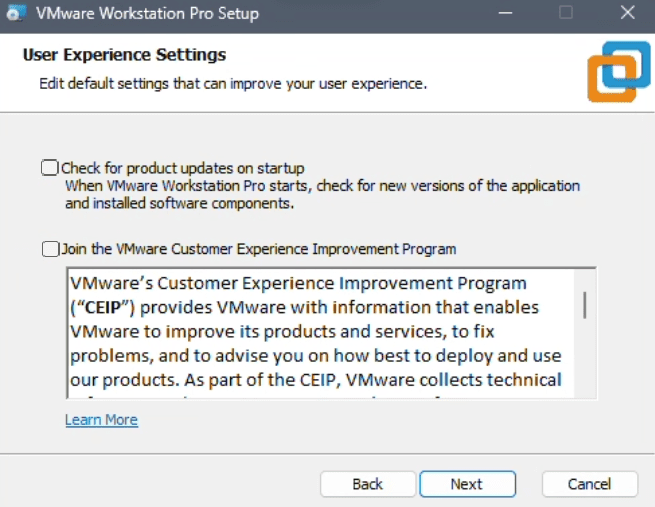
- Check for product updates on startup: Leave this unchecked – as of version 25H2, VMware no longer delivers updates through the in-app updater. Updates are downloaded manually from the Broadcom portal, so the checkbox doesn’t do anything useful.
- Join VMware Customer Experience Improvement Program: Your call. It sends anonymous usage data to Broadcom. Uncheck it if that’s not your thing.
Click Next.
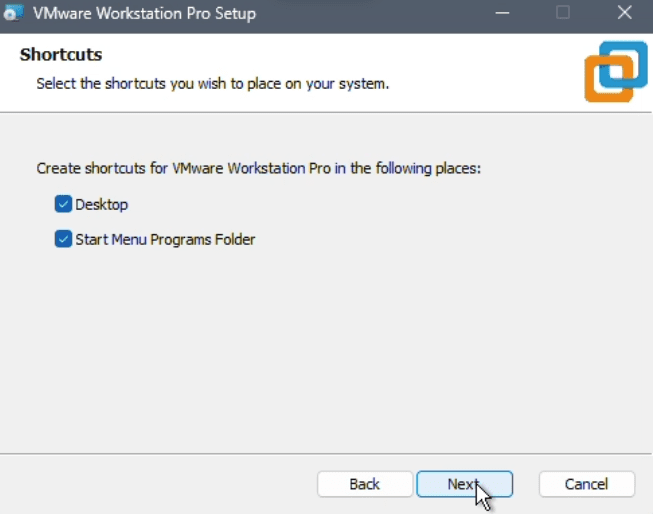
- Shortcuts: Select where you want shortcuts created – Desktop, Start Menu, or both. Personal preference. Click Next.
- Review the summary on the Ready to Install screen and click Install.
Part 3: Installation Progress and Completion
- The installer will now copy files and install drivers. This takes 3-5 minutes. You may see brief screen flickers – that’s normal. Display drivers are being installed.

❗ Don’t touch anything during this part. Especially during driver installation. Interrupting mid-process is how you end up with a broken VMware install that requires a full uninstall and reinstall to fix. Step away from the keyboard if you have to.
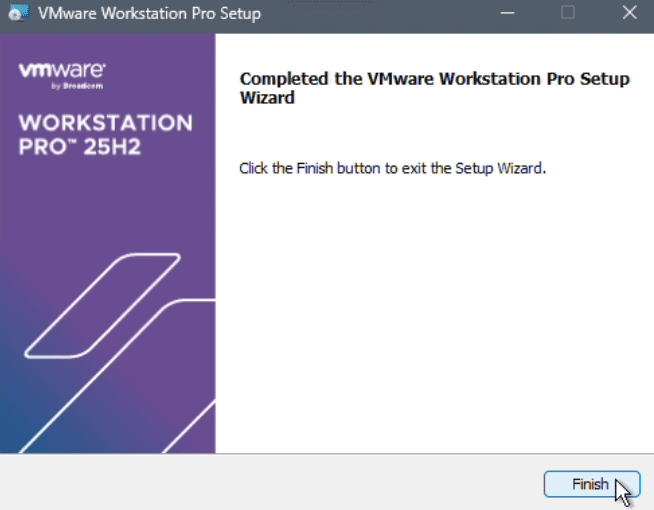
- When installation completes, click Finish.
- Restart your machine. The installer may or may not prompt you, but go ahead and do it anyway. VMware installs kernel drivers that need a fresh boot to load properly. Skipping the restart and then wondering why something is behaving strangely is a rite of passage nobody needs to go through.
💡 Save anything open before you restart. The installer won’t warn you if it decides to prompt for a reboot at the end.
Part 4: First Launch and Licensing
💡 As of November 2024, VMware Workstation Pro is completely free for personal, educational, and commercial use. No license key is required for any use case. If it asks for one, close and reopen – it sometimes prompts out of habit.
- Open VMware Workstation Pro. To confirm your version (optional), go to Help > About VMware Workstation and verify you’re running 25H2u1 (or the current version at the time of your install).
Part 5: Initial Configuration
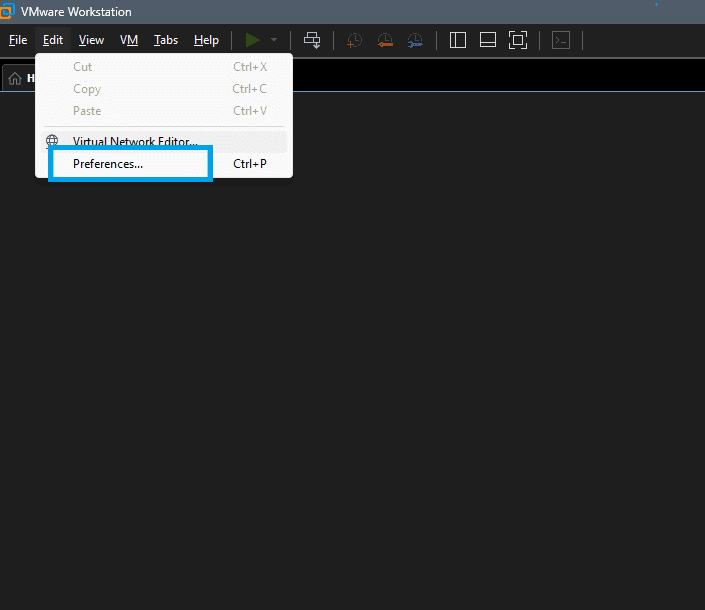
Before you create your first VM, take a few minutes to walk through VMware’s Preferences menu. Go to Edit > Preferences.
There are ten tabs here. Most of them need zero changes, but knowing why you’re leaving something alone is more useful than just clicking past it.
Workspace
This is the one tab where you actually need to do something.
Set the Default location for virtual machines to wherever you’ve set up your lab folder. For this lab, VMs are stored at C:\Penumbra\VMs\, but it really comes down to personal preference. Choose a location that works for you. Just be sure to set it before you create anything because this controls where new VMs are stored by default.
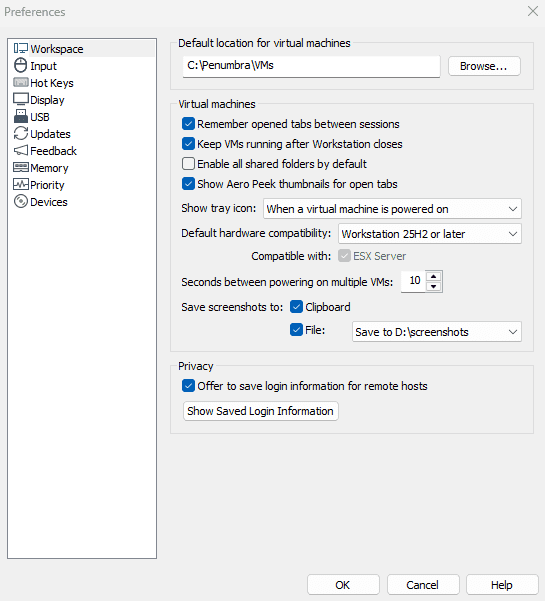
The rest of the Workspace settings worth knowing about:
- Remember opened tabs between sessions 🗸 – Leave on. VMware will reopen whatever VMs you had loaded last time. Saves you from hunting them down every session.
- Keep VMs running after Workstation closes 🗸 – Leave on. If you accidentally close the VMware window, your VMs keep running instead of hard-stopping. Good behavior.
- Enable all shared folders by default ☐ – Leave off. Shared folders create a direct bridge between your host machine and your VMs. In a security lab, you want that to be a deliberate choice, not a default. Enable it per-VM when you actually need it.
- Default hardware compatibility – Leave this at the current version. Only change it if you’re exporting VMs to run on older versions of VMware.
- Save screenshots to: If you see a path listed here, that’s where VMware’s built-in screenshot function saves files. Set it somewhere you’ll actually remember.
💡 Haven’t sorted out your lab folder structure yet? That’s covered in Before You Spiral: A Sane Guide to Organizing Your Home Lab Files and VMs. Short version: VMs on your fastest drive, ISOs and backups somewhere with space.
Input
This tab controls how VMware handles your keyboard and mouse when you’re working inside a VM.

- Grab keyboard and mouse on mouse click 🗸 – Leave on. This is how VMware “captures” your input when you click inside the VM window – standard behavior.
- Grab keyboard and mouse on key press 🗸 – Leave on. Same idea, pressing a key inside the VM window captures input automatically.
- Automatically grab and ungrab the mouse ☐ – Leave off. This sounds convenient but creates confusion when your cursor goes invisible (and at some point in this series, it will). Keep capture as a manual action so you always know which context you’re in.
- Hide cursor on ungrab ☐ – Leave off. Same reason, don’t give yourself more reasons to lose track of your cursor.
- Optimize mouse for games – Change this to Never. The default “Always” setting is designed for gaming VMs and can interfere with normal mouse behavior in Linux guests. This is a security lab, not a gaming rig.
Hot Keys
Nothing to change here. VMware’s defaults are fine.
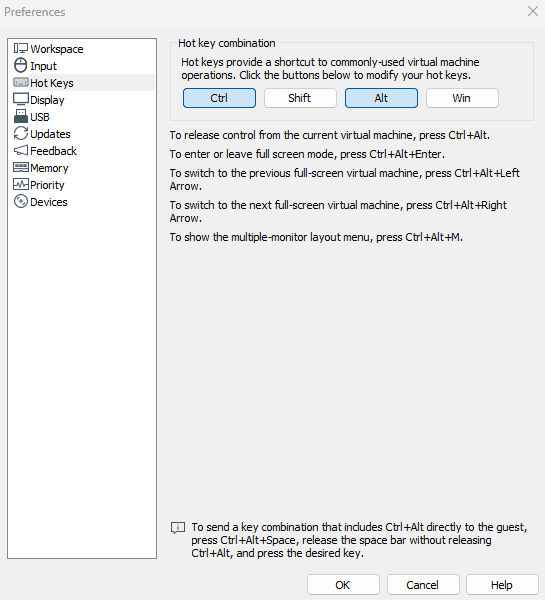
That said, hot keys are your escape hatch out of the VM. You’re essentially working inside a box inside a box – kind of like a digital Matryoshka doll. You’ll use hot keys constantly (especially Ctrl+Alt):
- Ctrl+Alt: Releases your mouse and keyboard from the VM back to your host. When something goes sideways in your lab and you’re convinced your computer is broken, this is the first thing you’ll wish you’d memorized. Jot them down. Keep them visible. You’ve been warned.
- Ctrl+Alt+Enter: Enters or exits full screen mode
- Ctrl+Alt+Space: Sends a Ctrl+Alt combination directly to the guest without triggering the host hotkey. Useful for terminal work inside Linux VMs.
💡 Bookmark this page or keep a sticky note with your hot keys nearby while you’re getting started.
Display
- Autofit window 🗸 – Leave on. Resizes the VMware application window when the guest’s display settings change.
- Autofit guest 🗸 – Leave on. This makes the guest resolution follow your VMware window when you resize it. Requires VMware Tools to be installed in the guest, which you’ll do later in this series.
- Full screen mode: Autofit guest (change guest resolution) 🗸 – Leave this selected. The alternative (“Center guest”) just adds black borders. Nobody wants that.
- Color theme: Dark – Obviously. (Totally optional.)
- Allow hardware acceleration for all virtual machine consoles ☐ – Leave this off. Hardware acceleration can cause display glitches in Linux guests and makes troubleshooting harder. If you ever see a weird cursor or rendering issue inside a VM, this is one of the first things to check.
USB
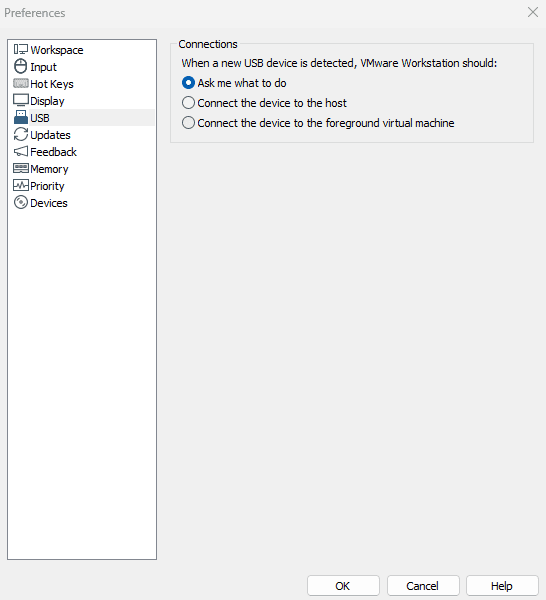
One setting, one right answer: Ask me what to do 🗸
When you plug in a USB device while a VM is running, VMware will ask whether to connect it to the host or to the active VM. That prompt is exactly what you want in a security lab. You never want a USB device silently auto-connecting to a VM running attack tools. Always choose deliberately.
❗ Don’t set this to auto-connect to the VM. In a lab running offensive tools, a USB device auto-connecting to the wrong VM is the kind of thing that turns into a much longer afternoon than you planned for.
Updates
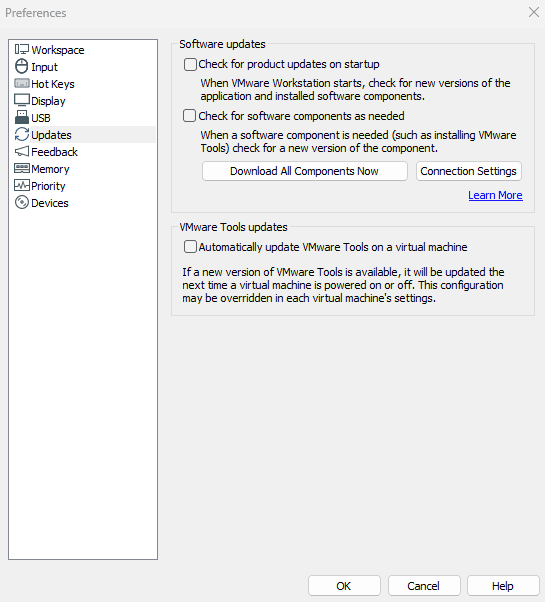
- Check for product updates on startup 🗸 – Leave on so you know when a new version is available.
- Check for software components as needed 🗸 – Leave on. This ensures VMware Tools updates are available when you go to install or update them.
- Automatically update VMware Tools on a virtual machine ☐ – Leave this off. VMware Tools updates can occasionally break things mid-lab. Update manually, intentionally, and when you have time to deal with it if something goes sideways.
💡 Note on the in-app updater: As of version 25H2, VMware no longer delivers application updates through the in-app updater. New versions are downloaded manually from the Broadcom portal. The “check for product updates” checkbox still works for awareness, it just can’t download anything for you.
Feedback
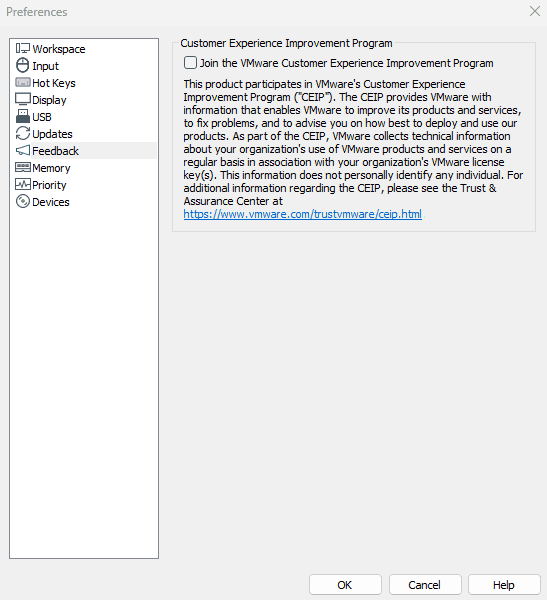
- Join the VMware Customer Experience Improvement Program ☐ – Already unchecked by default in most installs. Leave it off. A security lab machine doesn’t need to be sending telemetry to Broadcom.
Memory
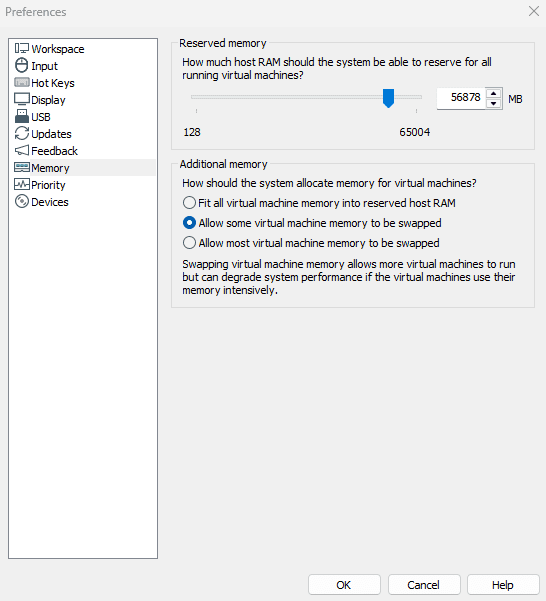
The Reserved memory slider controls how much of your host RAM VMware can use across all running VMs combined. The default is calculated based on your system RAM, so leave it unless you have a specific reason to change it.
For Additional memory, you’ll see three options:
- Fit all virtual machine memory into reserved host RAM – Sounds ideal, but this can prevent VMs from starting if you’ve allocated more RAM to your VMs than is reserved. Not great.
- Allow some virtual machine memory to be swapped 🗸 – The correct middle-ground. Leave it here.
- Allow most virtual machine memory to be swapped – Degrades performance significantly. Don’t use this.
💡 What is swapping? When a VM runs low on RAM, it uses disk space as overflow. A little swapping is manageable. A lot of swapping turns your lab into a slideshow. More RAM = fewer problems here.
Priority
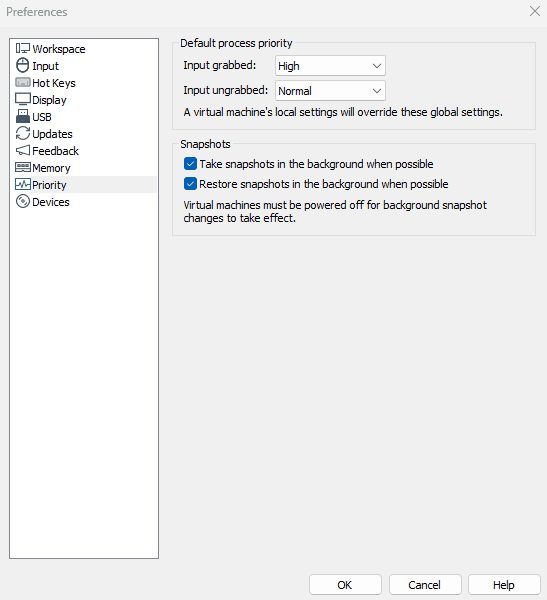
- Input grabbed / Input ungrabbed: Normal / Normal – Fine for now. If your active VM feels sluggish while you’re working in it, bump “Input grabbed” to High. Leave it at Normal to start.
- Take snapshots in the background when possible 🗸 – Leave on. No reason to freeze your VM while a snapshot saves.
- Restore snapshots in the background when possible 🗸 – Leave on. Same reason.
💡 Snapshots are one of the best things about running a lab in VMware. They let you save the exact state of a VM and roll back instantly if something breaks – which it will, and that’s kind of the point.
Devices
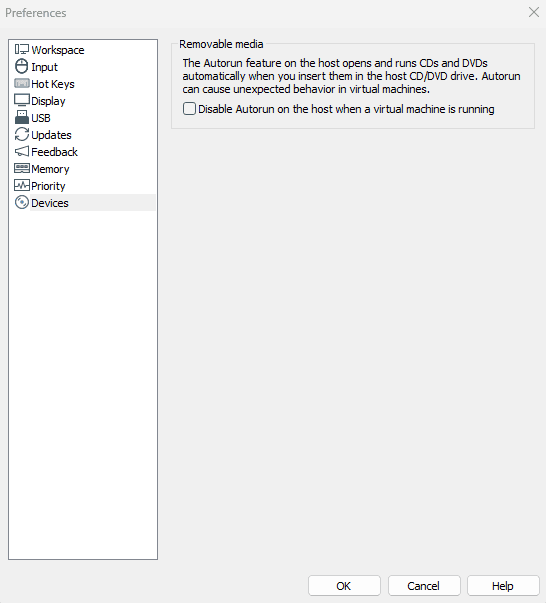
- Disable Autorun on the host when a virtual machine is running 🗸 – Leave this on. Autorun automatically executes content from CDs and DVDs when inserted. In a security lab, that’s a vector you don’t want open while a VM is active. Small setting, worth keeping.
Once you’ve reviewed your settings, click OK.
Virtual Network Editor
Before moving on, go to Edit > Virtual Network Editor. This is where VMware’s virtual network interfaces live (VMnet0 through VMnet19). You won’t configure much in this editor directly right now, but when you start assigning network adapters inside each VM, knowing where these VMnet options come from will save you some head-scratching later.
💡 Just take a look for now. The Virtual Network Editor gets its own proper walkthrough later in the series when you start building out the network. For now, just know it exists and where to find it.
Troubleshooting
“Virtualization not enabled” error when launching a VM:
- Enable VT-x (Intel) or AMD-V (AMD) in your BIOS. Restart and enter BIOS on boot, usually F2, F10, Delete, or F12 depending on your motherboard. Look under CPU, Advanced, or Security settings.
Hyper-V conflict / VMs running slower than expected:
- Disable Hyper-V via Control Panel > Programs > Turn Windows features on or off – uncheck Hyper-V and restart. Note that disabling Hyper-V will break WSL2 and Docker Desktop if you’re using either. Plan accordingly.
Installation fails or hangs:
- Temporarily pause your antivirus and retry
- Confirm you’re running the installer as administrator
- Make sure no other virtualization software is actively running
“Check for updates” shows nothing / update checker appears broken:
- This is expected behavior in version 25H2. VMware removed the in-app updater. Check for new versions manually at the Broadcom support portal.
Tutorial Debrief
📖 Log Entry:
- 🗸 Installed VMware Workstation Pro with correct hardware settings
- 🗸 Completed first launch and confirmed version
- 🗸 Configured all Preferences tabs with lab-appropriate settings
- 🗸 Set default VM storage location
- 🗸 Located the Virtual Network Editor
⚙️ Skills Stack:
- VMware Workstation Pro installation and licensing
- Hypervisor configuration and Hyper-V awareness
- VMware Preferences configuration across all tabs
- Virtual network fundamentals and VMnet architecture
- Lab environment organization
Next Objective
VMware is installed and configured. Next up is Lab Series #02: Spin Up pfSense – the firewall and router that everything else in the lab routes through.
Resources
- VMware Workstation Pro Documentation: https://docs.vmware.com/en/VMware-Workstation-Pro/
- Broadcom Support Portal: https://support.broadcom.com
- VMware Communities: https://community.broadcom.com
Questions, errors, weird behavior – comment below and we’ll debug it together.